A pH meter isn’t a device you unbox and forget forever. It’s a sensor that drifts – and it can deliver false readings for months without anything appearing broken.
Why a pH Meter Drifts
The heart of every pH meter is a thin glass membrane. It generates a tiny electrical voltage, which the device converts into a pH value. This very membrane changes over time: the glass surface ages, deposits from nutrient solution and drain water accumulate, and the internal electrolyte depletes.
The insidious part: none of this is reported. The display continues to show a clean number with decimal places. But it’s no longer accurate. Deviations of half a pH point or more are completely normal with unmaintained electrodes – and half a point determines whether your plant can absorb iron and manganese or goes into lockout. Which values you should aim for is covered in the guide to the optimal pH value for soil, coco, and hydro.
What You Need for Calibration
Calibration means: you show the device two known points and let it recalculate its curve through these points. For this, you need buffer solutions – liquids with a guaranteed stable pH value.
- pH 7.00 sets the zero point. Every calibration needs this solution, no matter what.
- pH 4.01 sets the slope in the acidic range. This is the buffer for anyone measuring nutrient solution, drain water, or irrigation water.
- pH 10.01 is only needed if you regularly measure in the basic range. For growing, it’s superfluous.
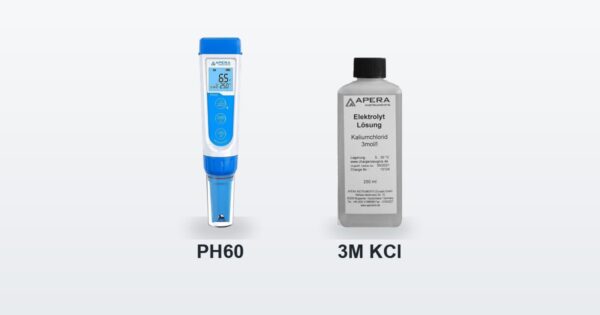
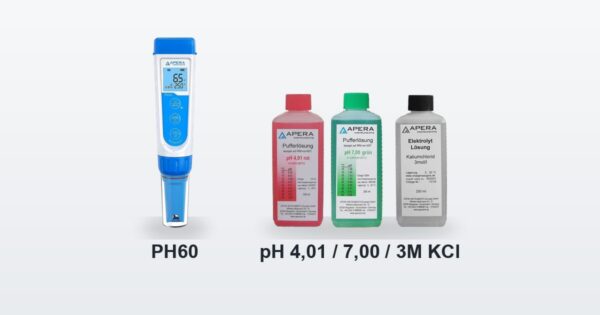
You’ll also need distilled water for rinsing and a clean, lint-free cloth. If you only measure occasionally, the Apera pH Calibration Solution Set is a good choice – it includes 4.01 and 7.00, plus KCl storage solution, all in one package.
-

Kalibrierlösungen, pH- & EC-Messgeräte
Ursprünglicher Preis war: 37,10 €33,40 €Aktueller Preis ist: 33,40 €.
Enthält 19% MwSt.plus VersandIn den Warenkorb
One-, Two-, or Three-Point Calibration?
| Method | What it corrects | When useful |
|---|---|---|
| One-point (7.00 only) | only the zero point | Quick check in between, if the last full calibration was a few days ago |
| Two-point (7.00 + 4.01) | zero point and slope | the standard for growing, aquaristics, and ponds – this is where you belong |
| Three-point (+ 10.01) | zero point and slope over the full range | Laboratory, if you measure both acidic and basic |
For growing, two-point calibration is the way to go. It takes two minutes and is the difference between a measurement and a guess.
The 6-Step Calibration
- Pour fresh buffers. Pour a small amount of pH 7.00 and pH 4.01 into two clean beakers. Never calibrate directly in the stock bottle and never pour used buffer back – a single drop of backflow spoils the entire bottle.
- Rinse electrode. Rinse with distilled water, then gently blot dry. Do not rub: this can scratch the glass membrane and create a static charge that makes the reading fluctuate for minutes.
- Start with pH 7.00. Immerse the electrode until the diaphragm – the small bright ring on the shaft – is completely covered. Stir briefly, then hold still and wait until the value stabilizes. Start calibration mode and confirm.
- Rinse again in between. Again, distilled water, again blot dry. Skipping this step means dragging buffer 7 into buffer 4 – and calibrating the device to a value it will never see again.
- Repeat with pH 4.01. Same procedure, same patience. Only confirm once the display remains stable for several seconds.
- Finish and cross-check. Save calibration, rinse the electrode, and hold it in buffer 7 again. If the device now shows 7.0 (or 7.00), everything worked. If it deviates, a buffer was old or the electrode needs maintenance.
Don’t Forget the Temperature
Buffer solutions have their specified value at 25 °C. If the bottle is in a cold cellar and the sample in a warm tent, you’re measuring two different worlds. All Apera devices in the 20 and 60 series have automatic temperature compensation that mathematically corrects this. Nevertheless, buffer and sample should have approximately the same temperature before you calibrate.
How Often Do You Need to Calibrate?
There’s no fixed number, but a useful rule of thumb:
- Daily use: full calibration once a week, plus a quick check in buffer 7 before the workday.
- Measuring once or twice a week: every two to four weeks.
- Always immediately: after prolonged disuse, after an electrode change, after measuring in heavily contaminated samples, and whenever a reading surprises you.
The last point is the most important. If your drain water suddenly shows a value that doesn’t match your substrate, the first question is never „What’s wrong with my plant?“, but „When did I last calibrate?“. Only then is it worth troubleshooting – for example, in our article on what to do if the drain pH is too low.
The Five Most Common Mistakes
- ✅ Old buffer solution. Opened bottles draw CO₂ from the air, which pushes the value down. Buffers 7 and 10 age particularly quickly. Write the date on the bottle, replace after about half a year – or sooner if turbidity or flakes appear.
- ✅ Not rinsed. The most common mistake of all, and the one with the biggest impact. Rinse between each step, not just at the beginning.
- ✅ Confirmed too early. An aged electrode needs up to a minute for the value to truly stabilize. Pressing „OK“ after five seconds calibrates to an intermediate state.
- ✅ Tap water for rinsing. Tap water contains dissolved salts and has its own pH value. It carries over exactly what you wanted to rinse away. Distilled or demineralized water is mandatory.
- ✅ Dry-stored electrode. A dried-out glass membrane often cannot be calibrated accurately anymore. How to avoid this is explained in our article on proper storage and care of the pH electrode.
When Calibration Fails
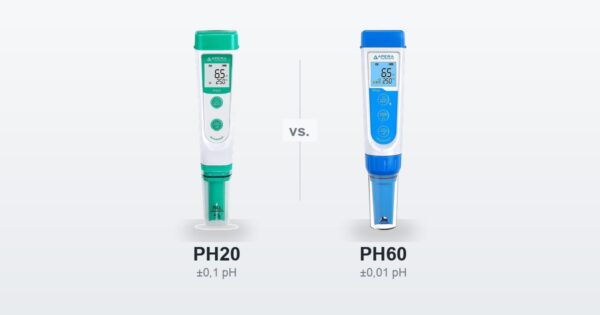
If your device refuses to calibrate or the value jumps around after every attempt, it’s almost never the device, but the electrode. For models with a permanently installed electrode like the Apera PH20 Value pH Pocket Tester, this ultimately means a new device. With the 60 series, the electrode is a consumable part that you can replace yourself in minutes – the Apera pH Replacement Electrode for PH60 (PH60-E) costs a fraction of a new meter.
This is precisely one of the reasons why the premium class pays off for frequent measurers. We’ve broken down which device suits you in the comparison between PH20 and PH60.
-
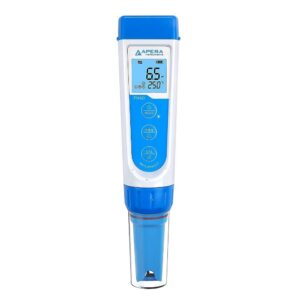
pH-Messgeräte, pH- & EC-Messgeräte
Ursprünglicher Preis war: 124,95 €112,95 €Aktueller Preis ist: 112,95 €.
Enthält 19% MwSt.Kostenlose Lieferung nach Deutschland für dieses Produkt!In den Warenkorb
Calibration Alone Isn’t Enough
A perfectly calibrated device will still give nonsense if the sample is bad. If you measure the pH value from a saucer where water has stood and evaporated, you’re measuring concentrated salts and deposits from the last week – not the condition of the root zone.
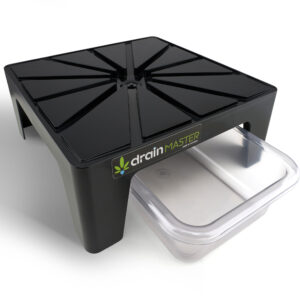
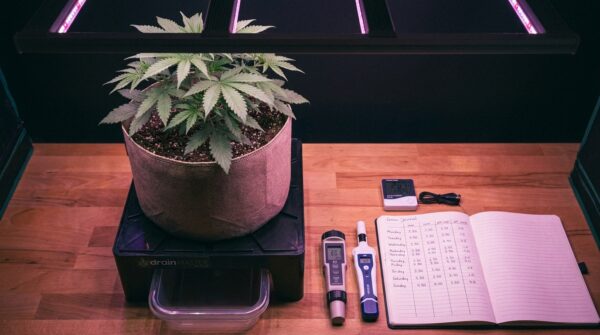
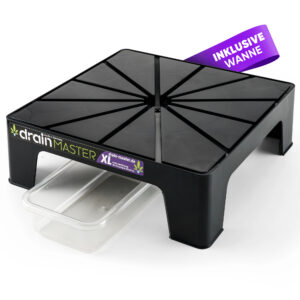
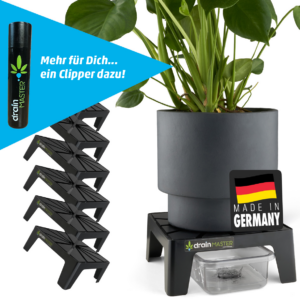
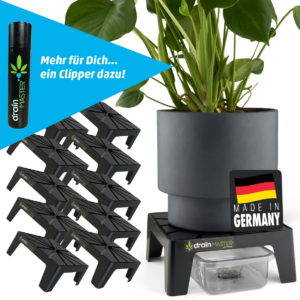
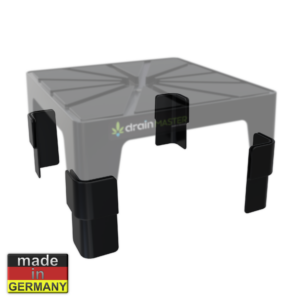
A reliable sample is fresh, comes directly from the pot, and has not had contact with anything else. This is exactly what the DrainMaster is built for: it cleanly collects the drain water so you can take a sample without lifting heavy pots. How this looks in practice is shown in the article Measuring pH and EC values without lifting the plant pot.