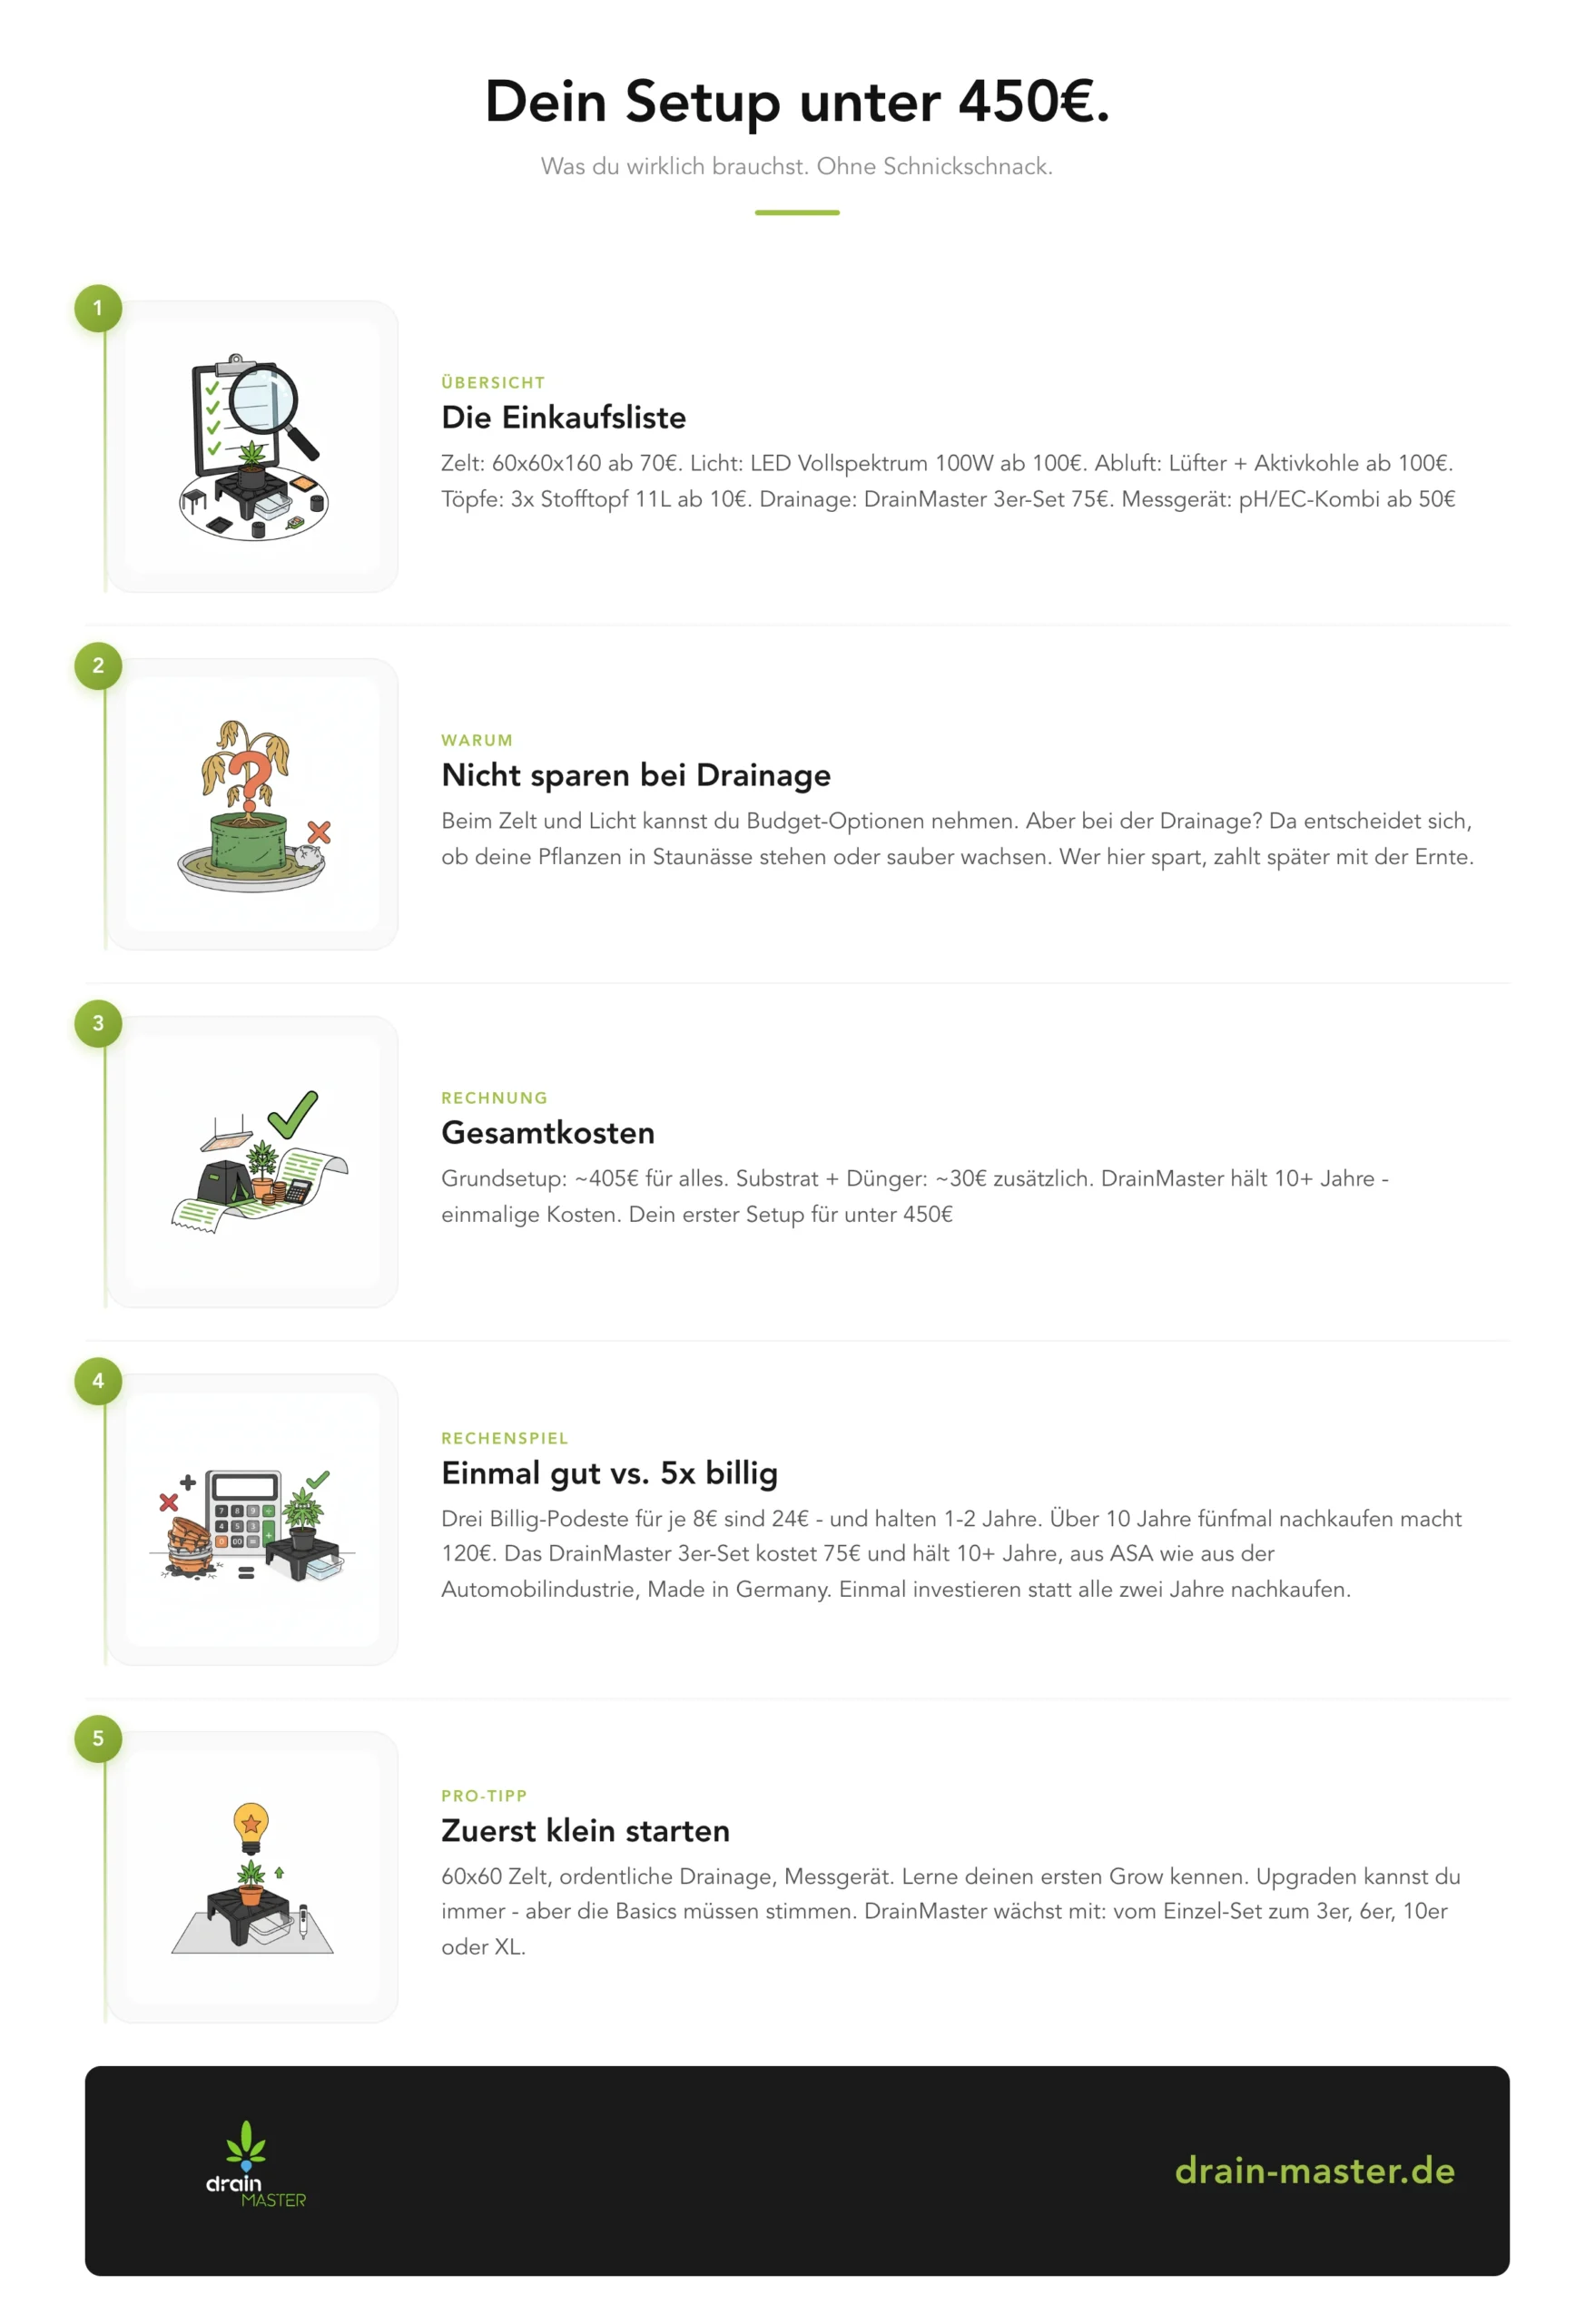
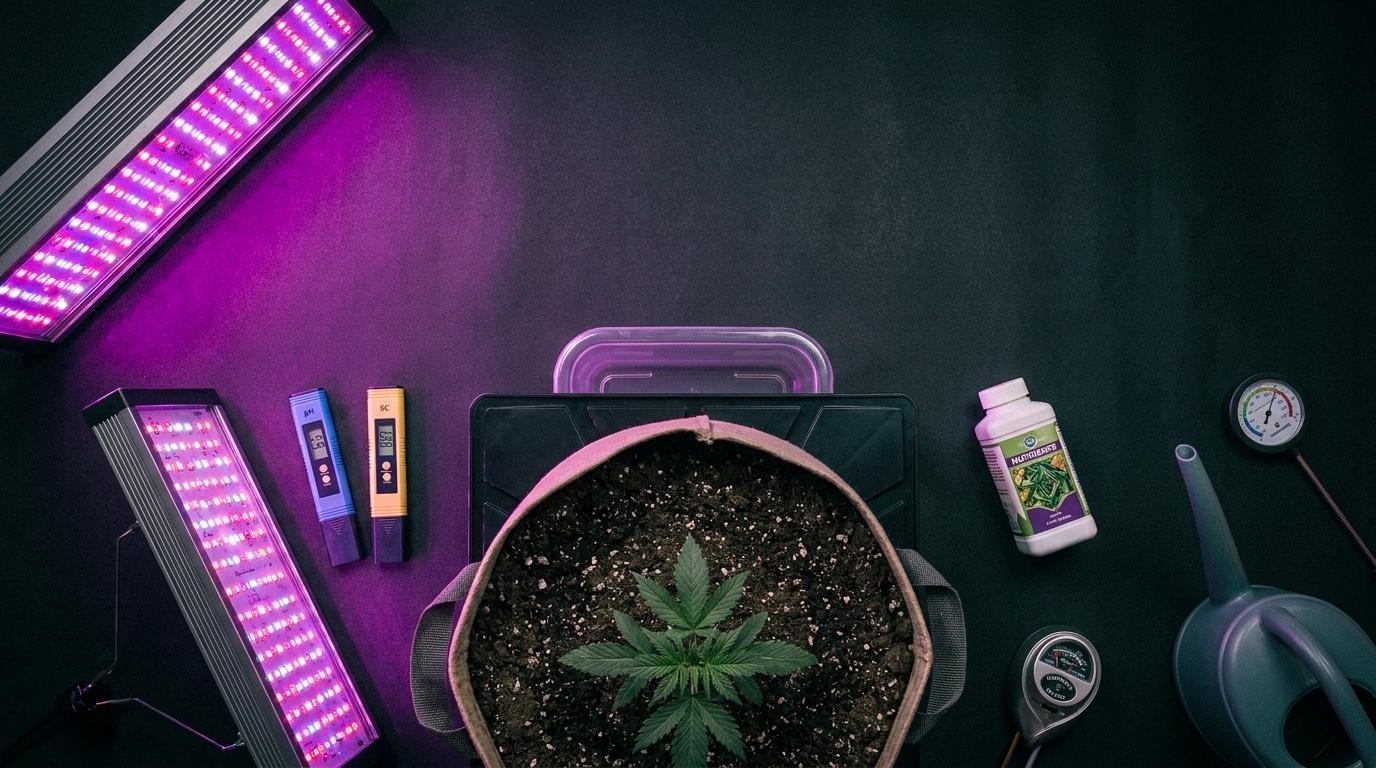
What you really need. No frills.
The Plan: How I put together my first grow setup for under €450
The decision was made. After weeks of research on home growing in Germany, it was clear: I wanted to take control of quality and availability myself. But the internet is a jungle of opinions, expensive equipment, and contradictory advice. My goal was data-driven and clearly defined: a complete, functional grow setup for beginners for a maximum of €450. No frills, but also no compromises that would doom the first grow to failure.
The Core: Tent, Light, and Air for approx. €270
The foundation must be solid. This is where I invested the largest part of the budget, because these three components define your plants’ environment. My analysis resulted in the following optimal configuration:
- Grow Tent (approx. €70): I chose a tent with dimensions of 60x60x160 cm. Why? It’s the perfect compromise. Large enough for 1-3 plants to learn the basics, but small enough to keep the climate (temperature and humidity) stable without huge effort. A larger tent means higher costs for light and ventilation and more variables you, as a beginner, would have to control.
- Lighting (approx. €100): A 100W full-spectrum LED is ideal for this tent size. Modern LEDs are incredibly efficient, produce little waste heat, and are easy to handle. Unlike old high-pressure sodium (HPS) lamps, you don’t need a complicated ballast, and the electricity bill remains manageable. Ensure good illumination of the entire area to fully exploit your plants’ potential. Light is the engine of photosynthesis and thus of your success.
- Exhaust System (approx. €100): An exhaust fan and activated carbon filter set is non-negotiable, even if you’re only growing one plant. It not only ensures absolute odor neutrality but also removes warm, stale air from the tent and draws in fresh, CO2-rich air. A fan with a capacity of approx. 180 m³/h is more than sufficient for this tent size.
The Foundation: Pots, Drainage, and Measuring Devices for €124
With a tent, light, and air, you create the environment. But the actual environment your plants grow in is determined by your accessories. This is where the wheat is separated from the chaff.
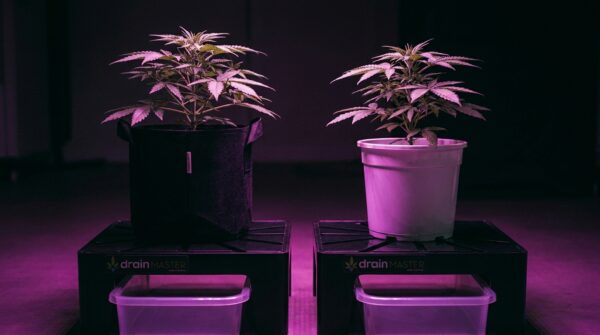
- Pots (approx. €10): I opted directly for 11L fabric pots. They promote healthy, finely branched root systems through “air-pruning” and prevent the dreaded root circling that occurs in plastic pots. Most importantly, however, excess water can escape – and that’s exactly what the next item is for.
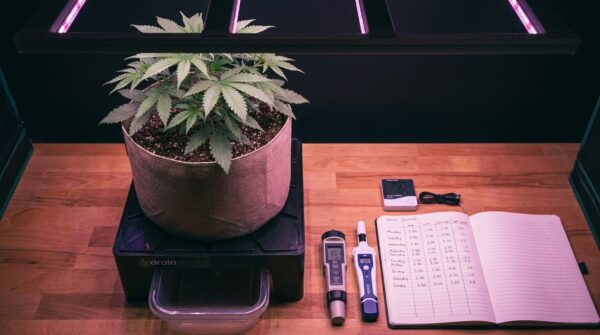
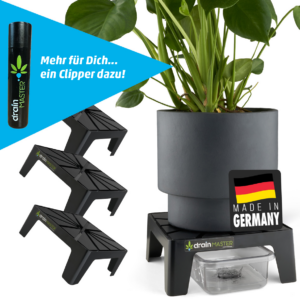
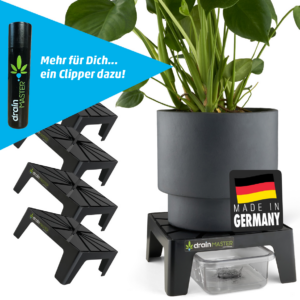
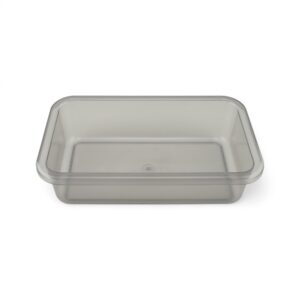
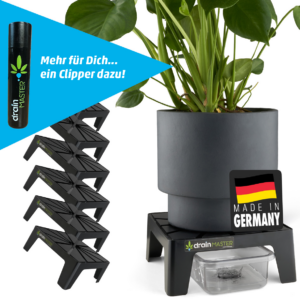
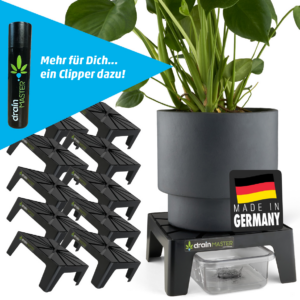
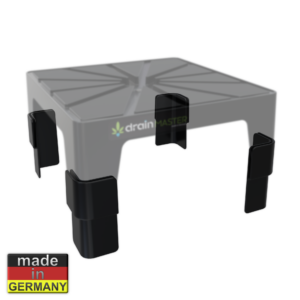
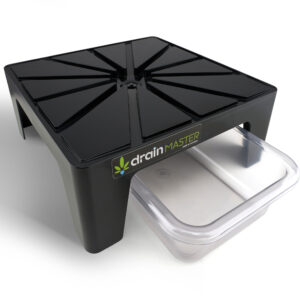
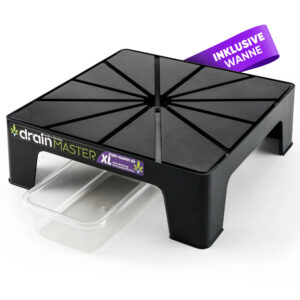
- Drainage (€64): The DrainMaster 3-piece set – a raised platform per pot with a transparent drip tray. The pot stands dry, the runoff water collects visibly, and EC and pH can be measured directly in the tray. A one-time cost of €64 for all three plants, usable for the long term.
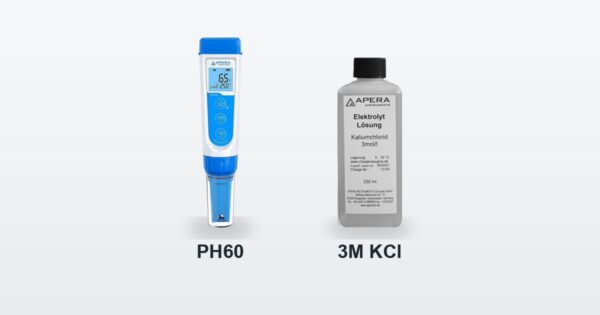
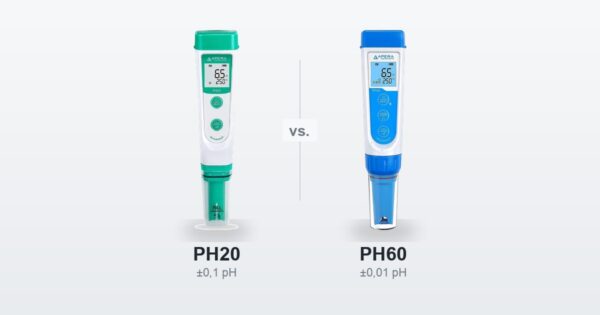
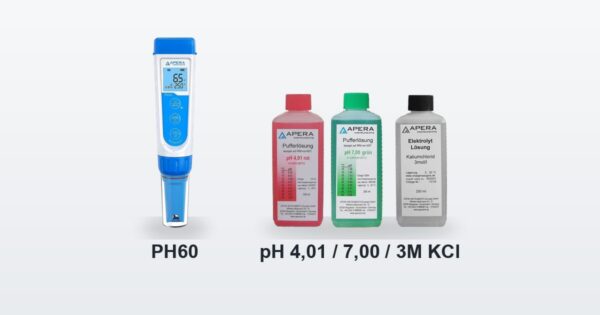
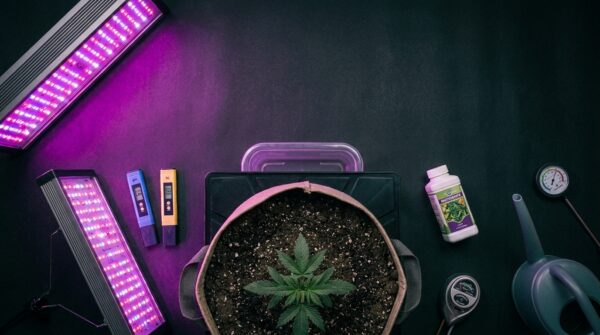
- Measuring Devices (approx. €50): Skimping here is the most common mistake for beginner cannabis home growers. A simple thermo-hygrometer (approx. €10) is mandatory. However, the most important investment is a reliable pH meter. I use the Apera PH20 pH meter to precisely set the pH of my nutrient solution to 6.2-6.5. Only within this window can plants in soil optimally absorb nutrients. Without this control, you’re just guessing and risk nutrient deficiencies, even if you’re fertilizing.
- Substrate & Fertilizer (approx. €30): A 50L bag of light-mix soil (€20) and a fertilizer starter set (€20) cover the first grow. If you like, you can later add a timer (€10) and a small clip fan for air circulation (€15) – both are practical but not strictly necessary for the start.
The First Lesson: Where you can save – and where it ends up costing you more
At first, I wanted the cheapest price for every part. A mistake, as I quickly realized. Buying cheap often means buying twice. Especially with two components, I’m glad I didn’t choose the cheapest option.
The Exhaust Dilemma: Better quiet and effective than loud and useless
A friend of mine bought a €40 exhaust system for his first grow equipment. The result: a deafening noise reminiscent of a jet engine. The fan was too weak to dissipate the heat, leading to heat stress for his plants. After four weeks, the cheap activated carbon filter was saturated, and the whole apartment smelled. He had to buy a new fan and a new filter and ended up spending €160. My solid €100 set runs quietly, keeps the temperature stable, and will last me for several grows.
Waterlogging – The Silent Killer Almost Every Beginner Underestimates
Your plants’ roots need not only water and nutrients but also oxygen. If the pot constantly sits in a puddle of runoff water, the roots slowly suffocate. This is called waterlogging. The consequences: root rot, nutrient lockout, and a sickly plant. Good drainage is therefore vital. I was faced with a choice: cheap plastic saucers for around €8 each, which become brittle after one to two years, or a clean, durable solution. I chose the DrainMaster including tray . It’s a one-time investment that pays off immediately. The pot is elevated, excess water drains cleanly, and the roots get air. The thing is made of robust material, doesn’t wobble, and will last me for a long time to come, instead of breaking after one grow like cheap plastic parts.
The Setup: From Empty Box to Finished Grow Box in Under an Hour
The packages have arrived. The good news: setting up a grow box is easier than assembling an IKEA shelf if you know the right order.
Airflow is Everything: How to Install Your Exhaust System Correctly
The most important principle is: warm air rises. Therefore, the activated carbon filter is the first component to go right at the top inside the tent. Connect the exhaust duct to the filter. This is routed out through one of the upper openings of the tent. Only outside the tent do you connect the inline fan, which sucks the air out of the tent. This way, you use natural thermals, and the fan has to work less. A small clip fan inside provides a gentle breeze that strengthens stems and prevents heat buildup under the leaves.
The Perfect Climate: My Target Values for Temperature and Humidity
With the thermo-hygrometer, I constantly monitor my environment. My target values, which you can use as a guide, are simple and effective:
- Light-on Phase (Day): I aim for a temperature of 22-26°C.
- Light-off Phase (Night): The temperature can drop to 18-20°C. A slight drop is natural and promotes development.
- Humidity (Vegetative Growth): In the first few weeks, I keep the humidity at approx. 60%.
- Humidity (Flowering): As soon as flowering begins, I gradually lower the humidity to 40-50% to minimize the risk of mold.
Conclusion After the First Grow: Starting Small Was the Best Decision
The first run is complete. Not everything went perfectly, but the result was better than expected. The most important realization for me was: the small, manageable setup was the basis of success. Had I started with a 120×120 cm tent and six plants, I would have failed due to the complexity.
The Learning Curve with Fertilizer and Water
I learned to read the signs of my plants. Slight, burnt leaf tips showed me incipient over-fertilization. Pale leaves turning yellow from bottom to top signaled a nitrogen deficiency. The light-mix soil forgave many of my mistakes here, as it is only lightly pre-fertilized. The biggest challenge was watering. I almost drowned my plants because I watered too often. How to avoid typical watering mistakes and ensure that water penetrates the entire root ball is a science in itself. How you learn to water your plants correctlyis one of the most important steps for a successful grow.
My Recommendation for You: Stay Under €450 and Learn the Basics
A setup for under €300 is feasible, but you pay for it with noise, lower efficiency, and components you’ll soon have to replace. The ~€450 setup presented here is the perfect sweet spot for a frustration-free start to cannabis cultivation. You learn all the important connections in a small space, make your mistakes with only one or two plants, and can always upgrade later. Once you understand the basics, the step to a larger system is easy. For starters, this is all you need. This complete guide to legal cultivation.